Tools and Materials for Creating a Duct Tape Dummy
Tools:
- Sharpie (for marking)
- Trauma shears or scissors (for cutting tape)
- Arm stands or similar support (to help keep your arms steady during the process)
Materials:
- 5 to 9 rolls of duct tape (quantity depends on your size; use two different colors to distinguish the layers)
- Painter’s suit or plastic wrap (to create a base layer under the duct tape)

Important Note: Get Help from Friends
This project requires assistance, as you’ll be taping your entire body. It’s essential to have someone you trust to help with the taping, cutting, and reassembly steps. Consider asking a few close friends to assist. Their help will make the process smoother and safer.

Step 1: Preparation
Wear slim-fitting undergarments. This ensures your duct tape dummy will be an accurate representation of your body shape.
Cover your body with a painter’s suit or plastic wrap, as this will serve as the base layer to protect your skin and clothes.

Step 2: Begin Taping
Start taping around the crotch with small to medium pieces (6-8 inches/15-20 cm).
Make sure the tape is snug but not too tight—you want it to closely follow the contours of your body without causing discomfort.
Longer pieces can create wrinkles and distort the shape.

Step 3: Tape Under Arms and Torso
Next, start applying duct tape under your arms and gradually work your way down to cover the torso.
Ensure the tape is snug and smoothly follows the natural contours of your body for the most accurate fit.

Step 4: Tape the Rest of the Body
Continue taping the rest of your body, starting with the legs and then moving to the arms.
To prevent your arms from getting tired, consider holding onto something or use arm stands for support.
Wrap all exposed skin with plastic wrap before taping to protect it.
Complete Coverage and Second Layer
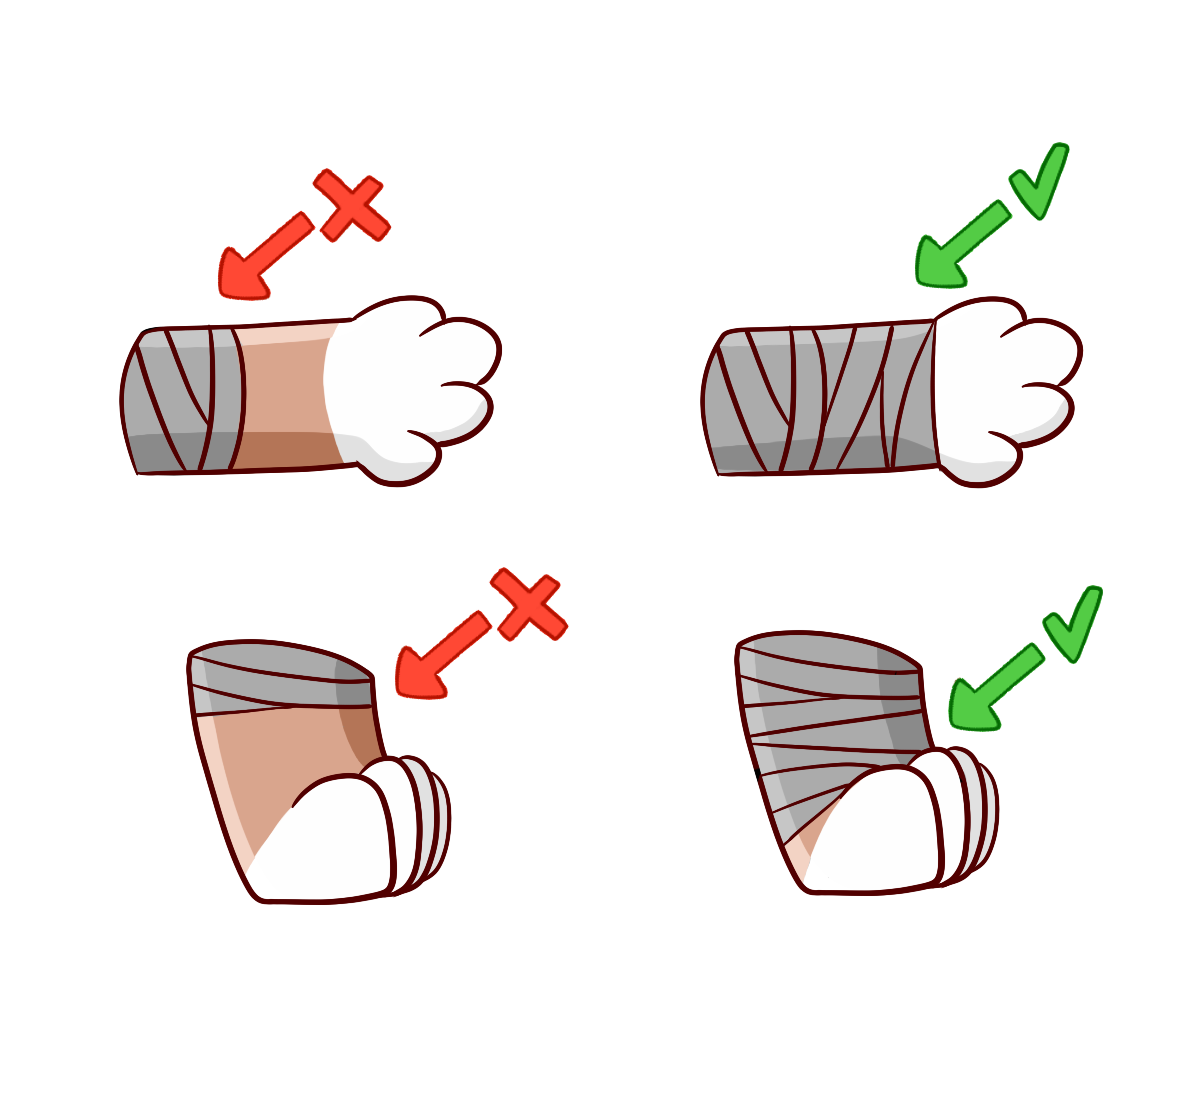
Ensure you cover your body entirely, from your ankles to your wrists, for a full and accurate dummy.
After finishing the first layer of duct tape, apply a second layer using a different color.
This will help you see where the tape has been placed, ensuring even and thorough coverage.
Step 5: Tape Around the Neck
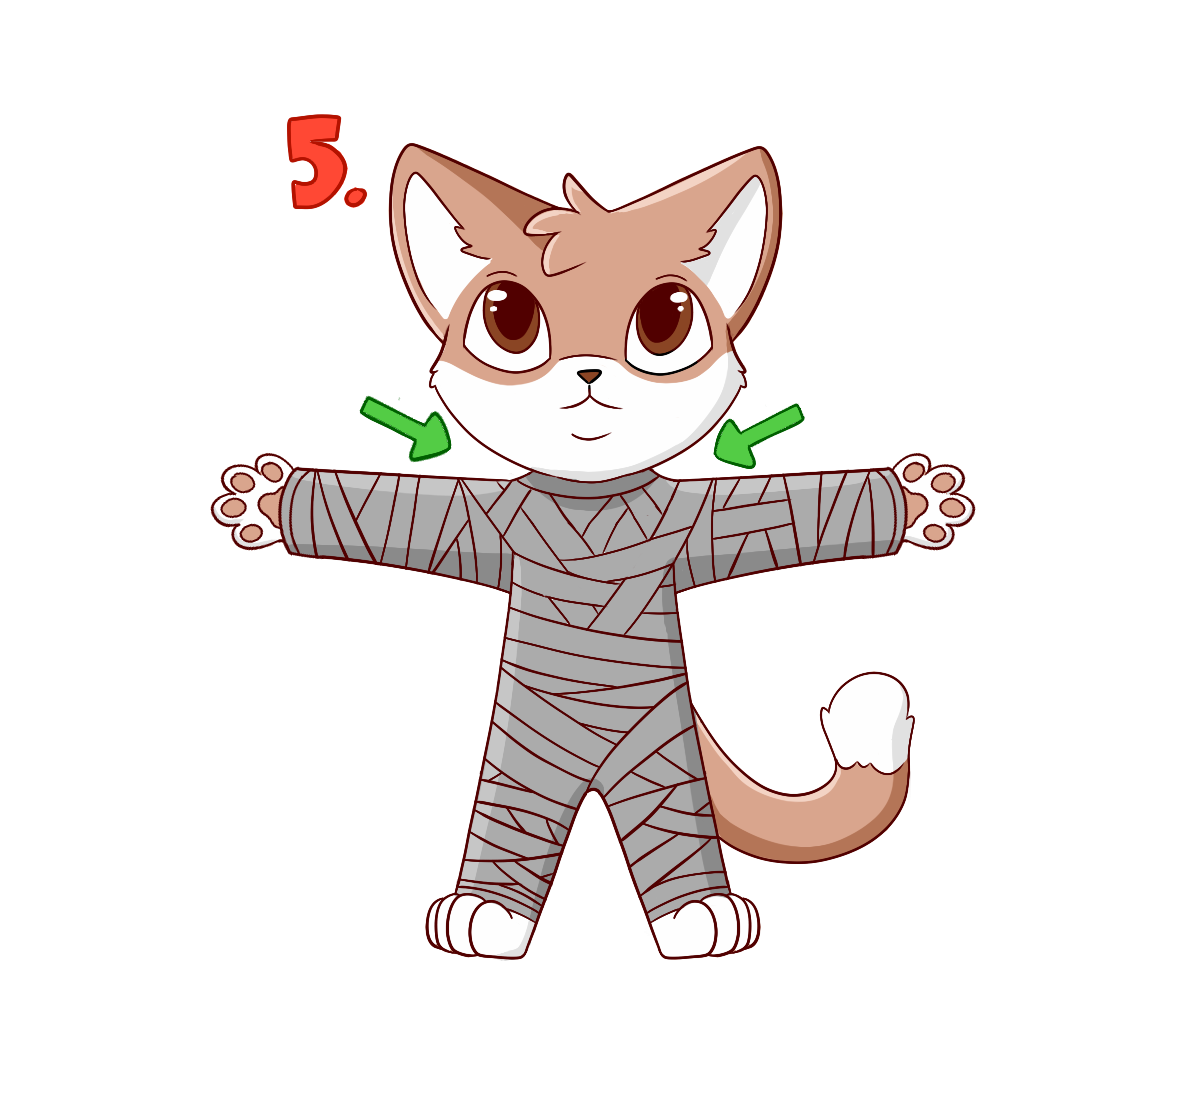
Carefully apply duct tape around your neck, but there’s no need to cover it entirely—just enough to capture the base shape.
Make sure the tape is snug but not too tight, allowing you to move and breathe comfortably.
This will help define the neck area for your duct tape dummy.
Step 6: Create Seam Lines
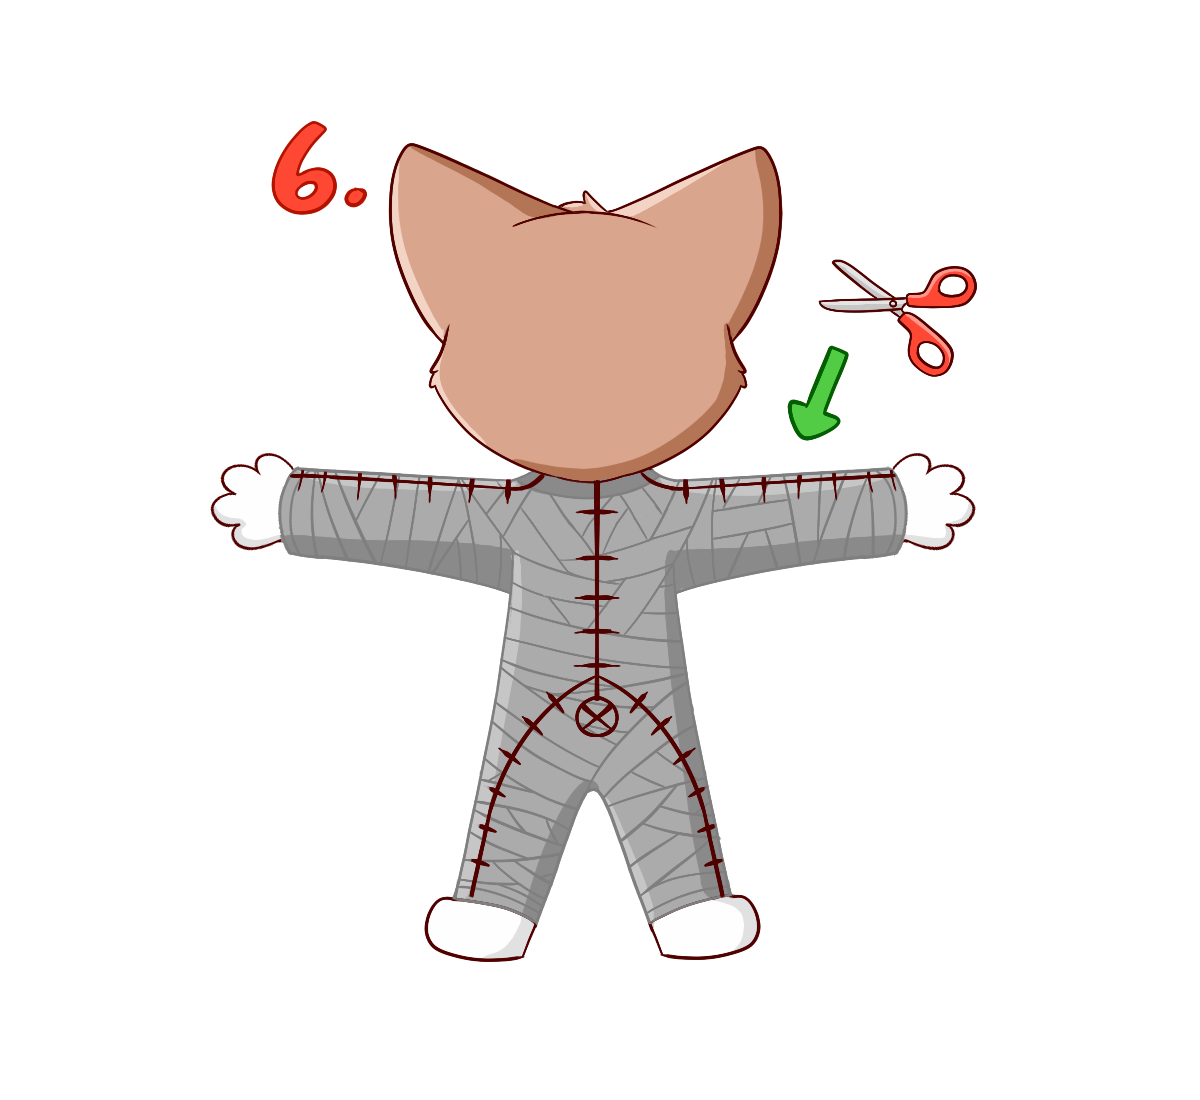
Using a Sharpie, draw a seam line down the back, along the top of the arms, and the sides of the legs. This will be where you cut to remove the dummy later.
Add registration marks. This will make it easier to reassemble the dummy accurately once it’s cut off.
Clearly indicate the location of the elbows, knees and tail by making an X
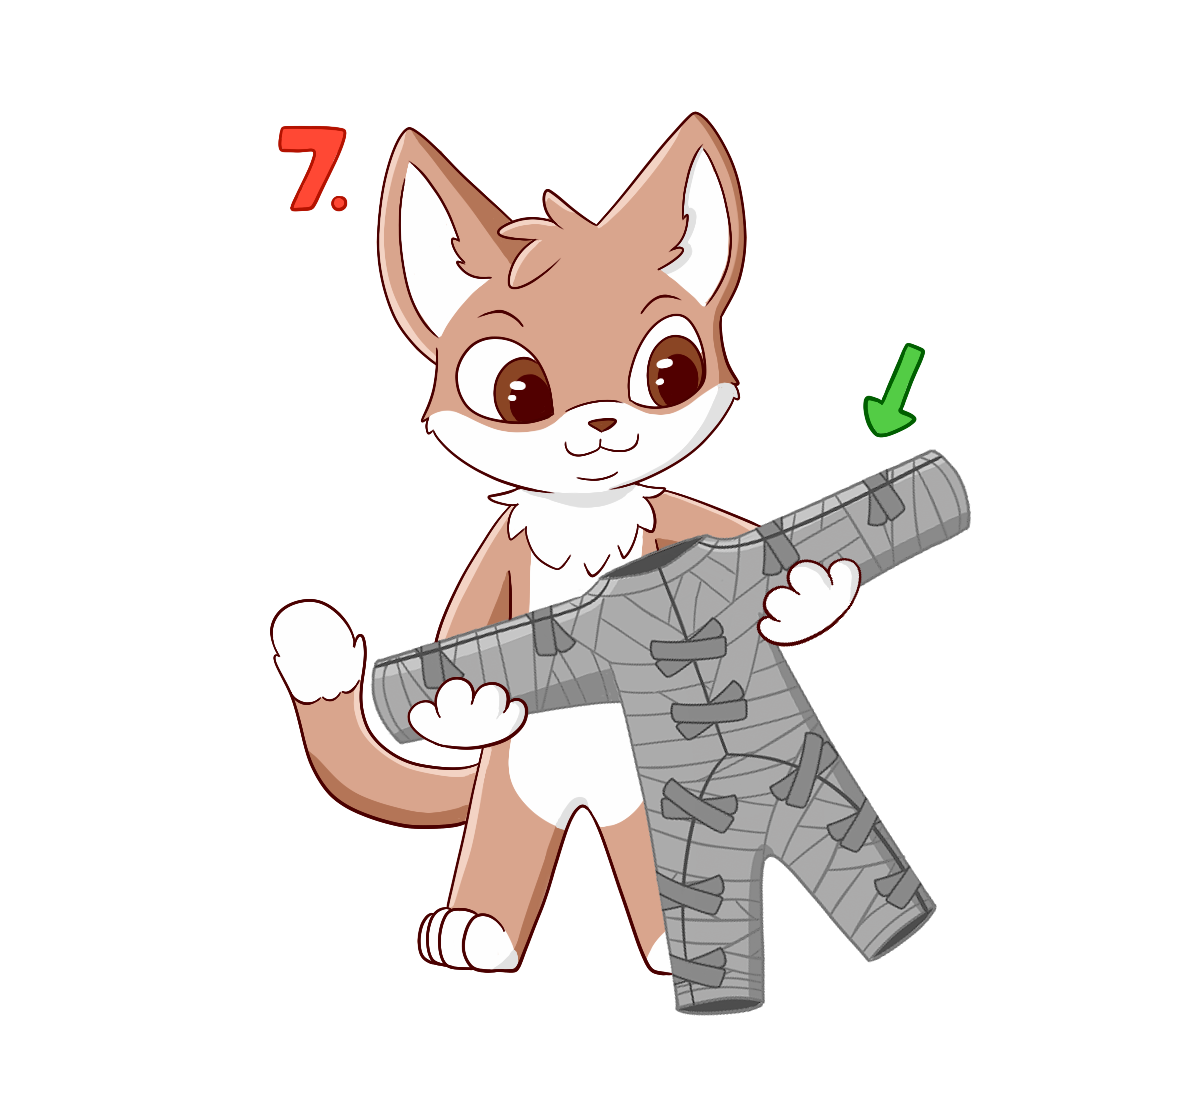
Step 7: Cut Out and Reassemble
Carefully cut along the seam lines to remove the dummy using trauma shears or scissors.
Once it’s off, ensure you reassemble the dummy carefully by aligning the seam lines and registration marks accurately.
Securing them firmly with tape and write your name on the dummy for identification.

Final Step: Prepare for Shipping
Congratulations! You’ve successfully created your duct tape dummy. Now, fold it neatly and place it in a box.
Make sure to label the box with the provided shipping address, and it’s ready to be sent!
Measurement


